
Verifone terminal: change the date and time
The Verifone has the most steps of the four, mostly because the setup menu sits behind a password and takes a few presses of the down key to reach. Have the current Eastern time ready, on a 24-hour clock.
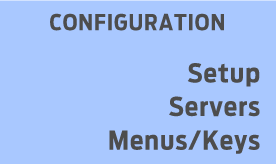
On the home screen (it lists Sale, Refund and Void), press the green Enter key to open the Configuration screen.
On the Configuration screen, press the F2 key on the side of the screen to choose Setup.
The terminal asks for a password. Press 1, ALPHA, ALPHA, 6, 6, 8, 3, 1, then Enter.

The Setup menu opens. Press the purple Down key four times, or until you see Date/Time on the screen.
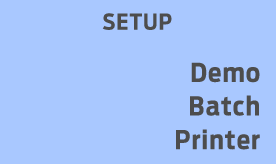
Press the F4 key to select Date/Time.

The terminal asks for the date first. Type it as MMDDYYYY, with no slashes. November 2, 2026 is
11022026. Press Enter.
Next it asks for the time. Type it as HHMMSS on a 24-hour clock, so 9:30 AM is
093000and 2:50 PM is145000. Press Enter to save.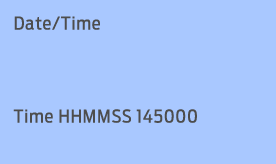
When you are done, check that the home screen shows the right time. If the date or time looks wrong, repeat the steps, and call or text us at 1-855-297-6722.
Not a Verifone? Head back to all four terminals.